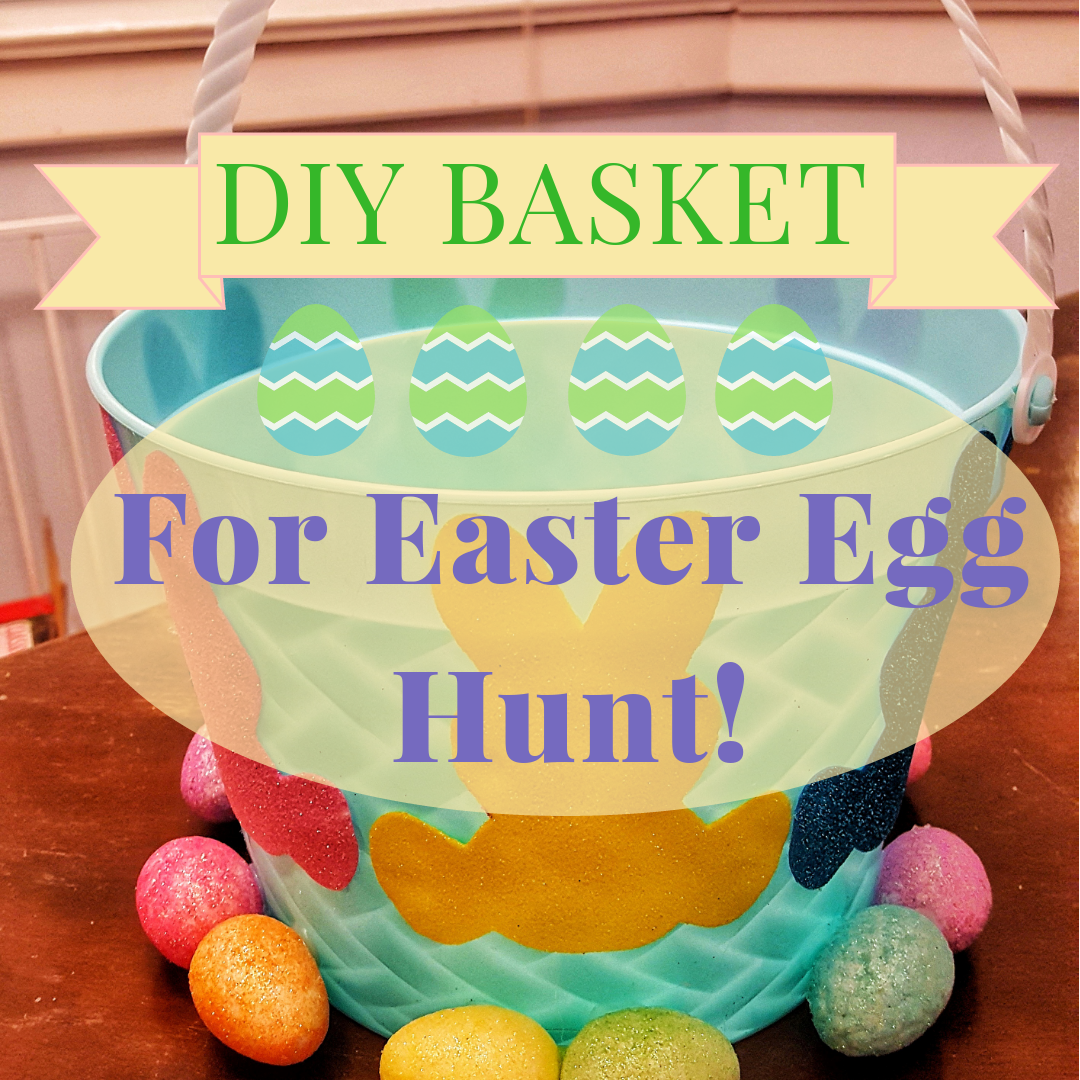
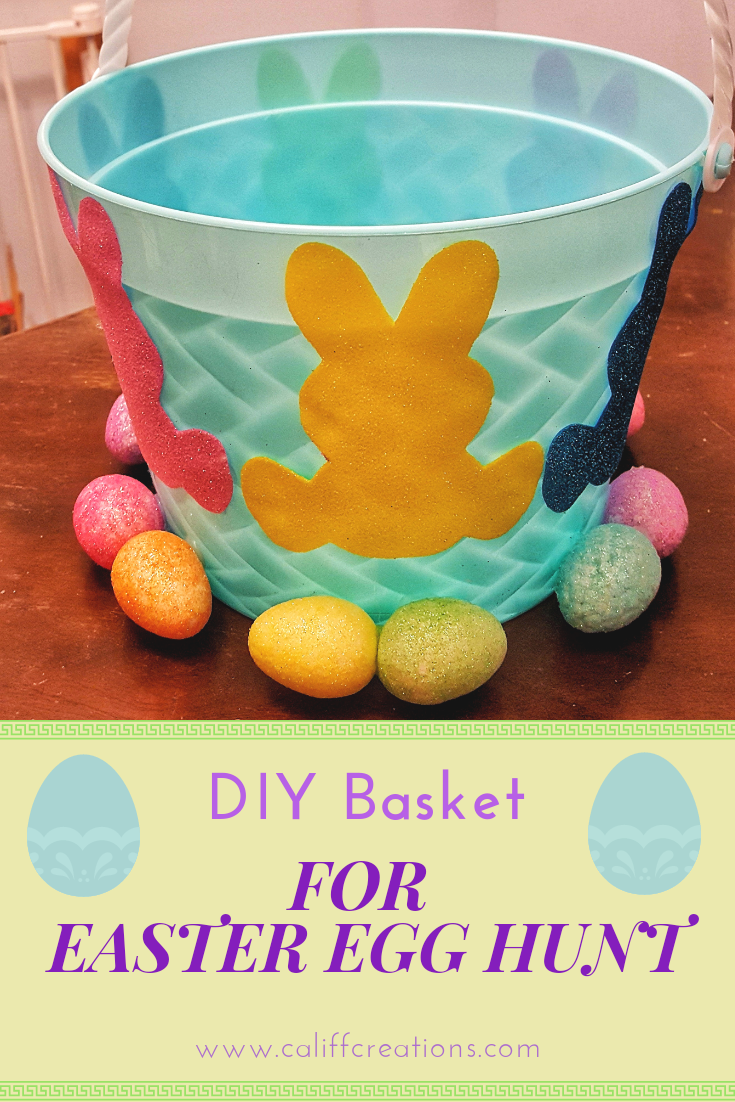
DIY Basket for Easter Egg Hunt
Easter is right around the corner! That means egg hunts, egg dying, and more. It’s the first true Spring activity of the year, even if it may not feel too Spring-like yet. I’m not a religious person and didn’t really celebrate Easter for many years once leaving my own childhood years. However, now I have a child of my own and the joy is returning to this holiday. It’s so much fun to watch his fascination when he finds an egg and puts it in his basket!
This includes affiliate links. That means that if you purchase through these links that Califf Creations will receive compensation that is of no extra cost to you. This helps cover the costs of Califf Creations.
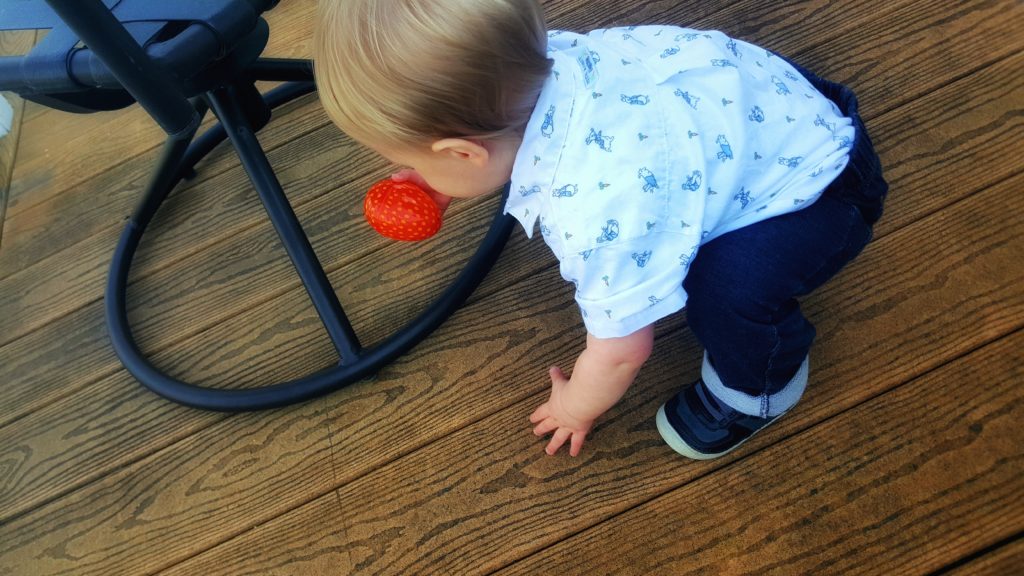
Last year, my son was just barely over a year for Easter. We did a small egg hunt on the porch at my in-laws. It was a lot of fun, but it was kept very simple as we had to match his ability and attention span. Eggs were filled with cheerios or puff snacks. As was the tradition in my family growing up, we had one special egg, the golden egg. This has a special little treat in it that is different from all the other eggs. Last year I put a small cookie, something he rarely had.
This year is a whole new ball game! At 2-years-old, my son is very active. He’s running, jumping, crawling under tables, and climbing everything and anything he can find. Therefore, we are planning a much larger Easter egg hunt. For this hunt, he will need a basket to put the eggs in a carry around as he searches for more.
I didn’t like any of the lightweight baskets I was finding at the store. They were all character-themed or just plain colors. So, being the type of person that I am, I decided to get a plain one, and decorate it myself!
That meant a quick trip to the dollar store and whipping out my hot glue gun. I got a plain blue basket that was light enough for him to carry and yet still big enough to fit plenty of eggs. Then, I found some foam bunny and egg decorations. Everything cost about $4 (the basket was $2).
The first step was to remove the ribbon loops from the foam eggs. I had to do this very carefully since otherwise the egg would be destroyed! Like usual for myself, I don’t buy extra to allow for mistakes, so I had to get it right the first time. Some of the eggs still ended up with rather large craters where the ribbon had been removed. To solve this, I decided to pair the eggs up and glued them together.
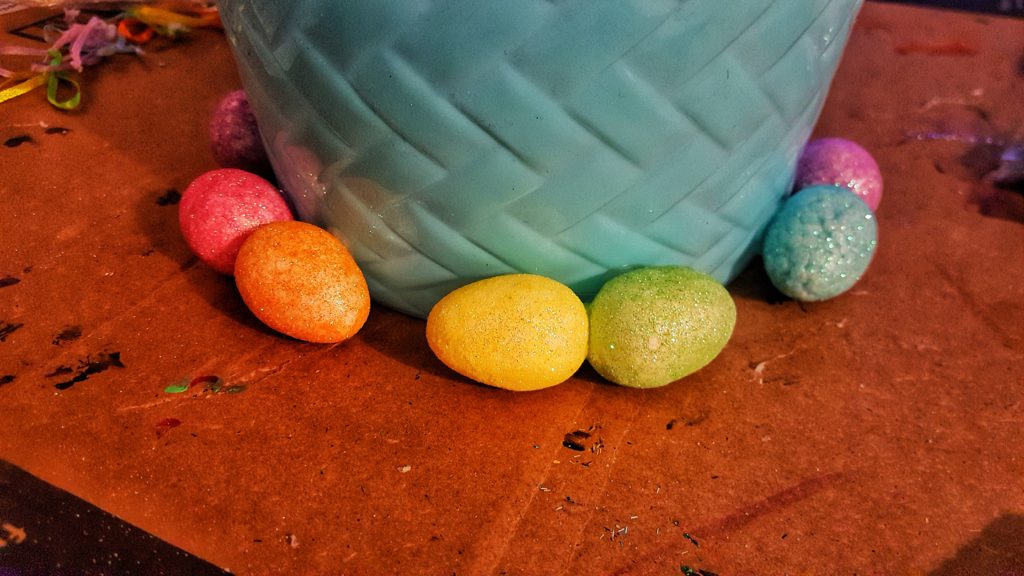
Next, I took these pairs and glued them in rainbow order around the bottom of the basket. If possible, I do everything in rainbow order. I just happen to love rainbows! Since the package I bought had two of every color, you could pair the same color together or whatever you want.
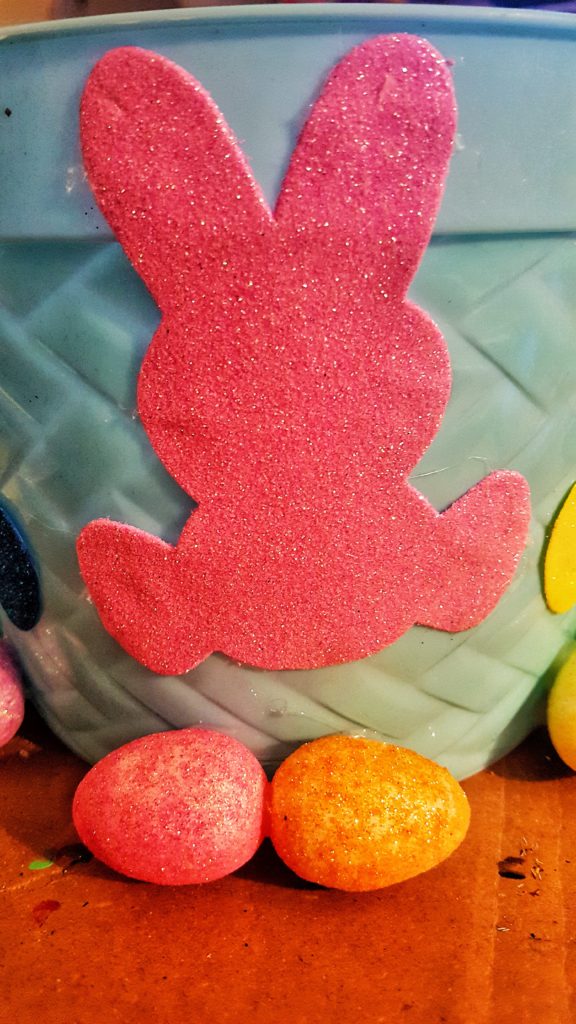
Finally, I took the foam bunnies (which came in 3 colors: pink, yellow, and blue) and glued them above the egg pairs. I glued the pink bunny about the pink and orange egg pair, the yellow bunny above the yellow and green egg pair, and the blue bunny above the blue and purple egg pair. In hindsight, they didn’t come out as even as I would have liked so I might have done this a little different, but I still like the overall look.
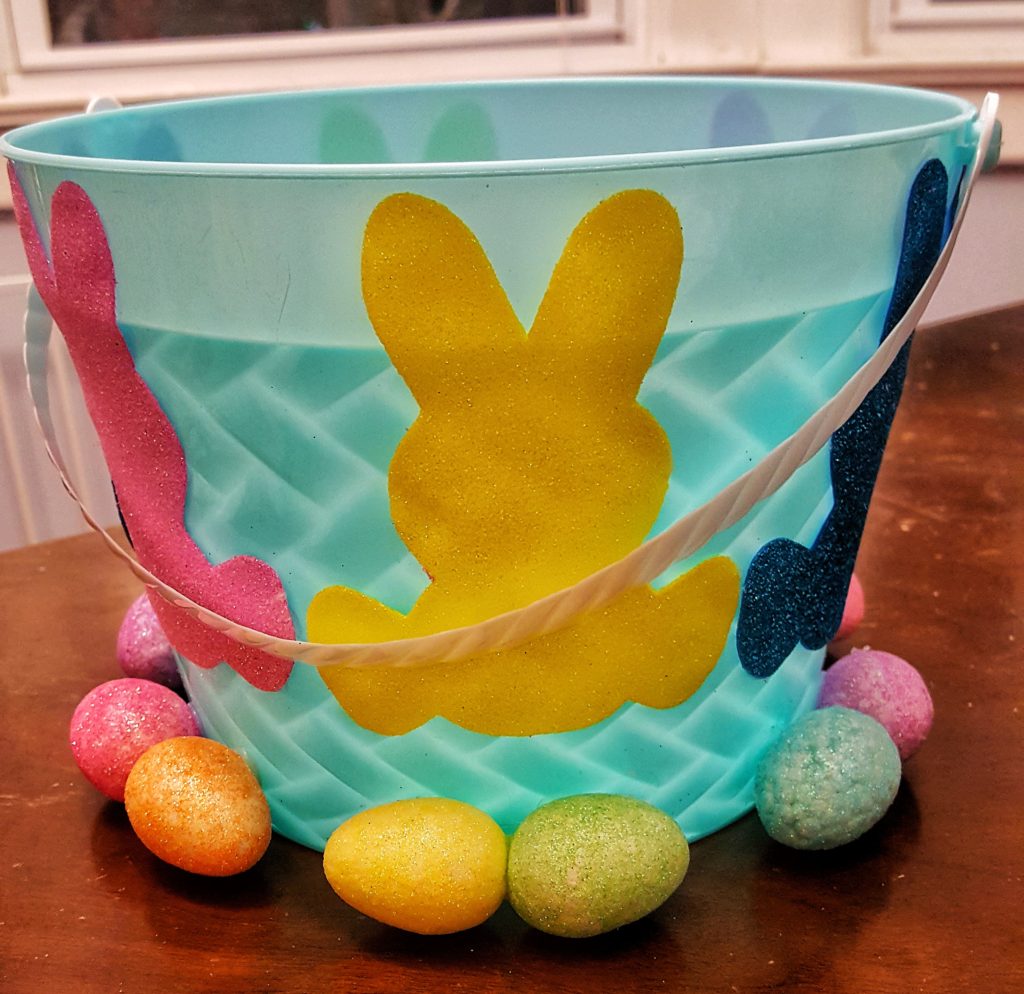
I also had some ribbon that I had purchased, but after looking at my basket, I decided that I liked it just the way it was. Adding ribbon, in my opinion, would have made it a little too busy. I like the simple look. It’s going to be perfect for our Easter egg hunt!
Supplies Needed:
I included links in case you want to order online, but if you’re on a budget, like me, head to your local dollar store!
What are your family traditions for Easter egg hunts? Tell me what you think of my basket and let me know your favorite things about Easter!
Related Posts


10 Comments
Cheri
I love this! I’m always up for a DIY project, especially an easy one like this that is almost impossible to mess up 🙂
Kat
Thanks! This one is super easy!
Jhilmil Bhansali
That’s an amazing DIY basket for easter egg hunt. It was so colorful, my son would love to engage in doing it.
Kat
It’s a lot of fun! I love using lots of colors.
Jasmine Hewitt
i have a 2.5 year old, so these are perfect ideas for him!
Kat
Thanks!
Tara
Great idea making your own. I just love those spring colors!
Kat
Thanks!
Jessica
My son is about to turn two, so this is all great tips and tricks for me on how to celebrate the Easter holiday with him! Thank you.
Kat
Thanks! I hope you have a good one.