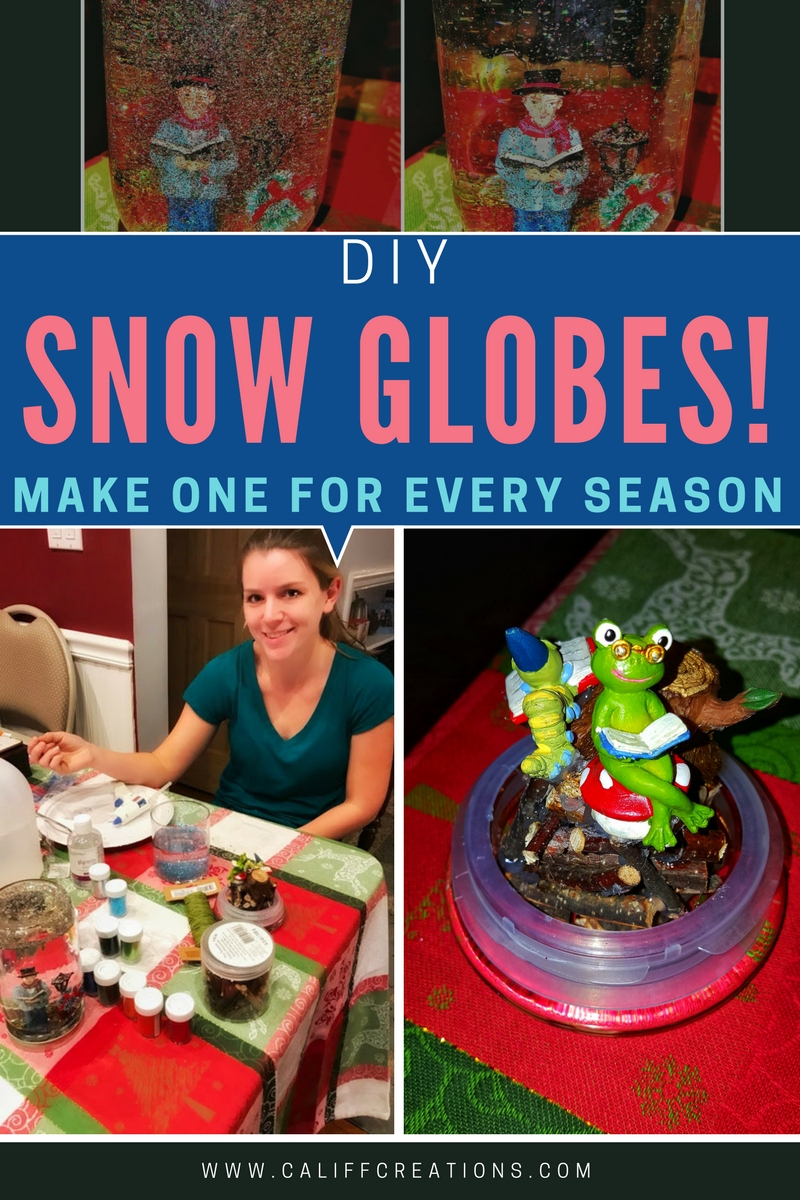
DIY Snow globes
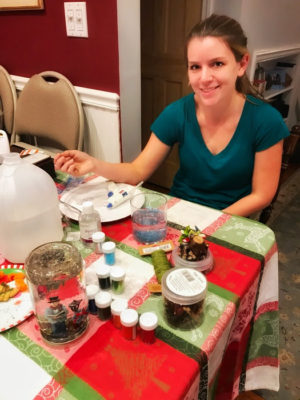
When my family came for the holidays I wanted to make something together. My mother came up with this idea and I’m so glad she did! DIY snow globes are fun to make and even more fun to enjoy afterward. It’s a cute decoration that can be tailored to any time of year. Here is my success, and my failure.
This includes affiliate links. That means that if you purchase through these links that Califf Creations will receive compensation that is of no extra cost to you. This helps cover the costs of Califf Creations.
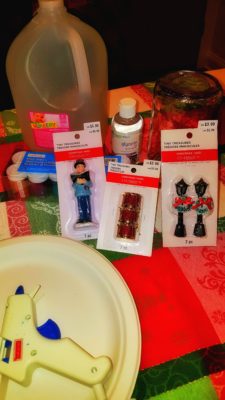
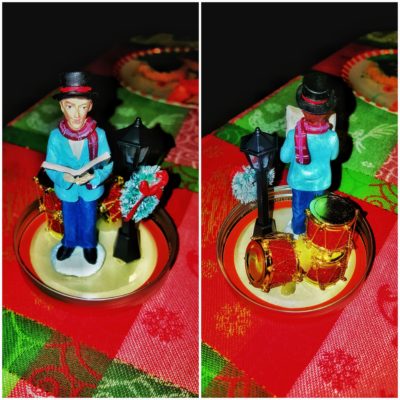
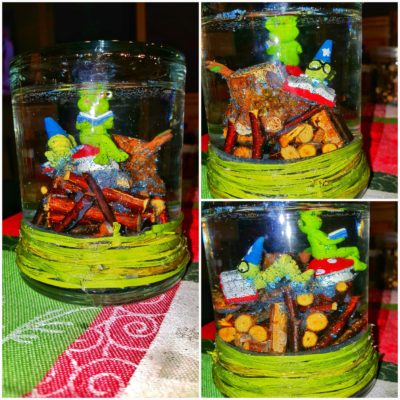
First, we had to go get our supplies so we were off to the craft store! We found fine glitter (too big and it will settle too quickly), 2 different types of jars, little winter miniatures, some adorable woodland creatures reading (perfect for my son who loves books), and some little wood “logs”. We also got some hippie ones, but that one I still have to make! The miniatures don’t quite fit into the jar. There will be an update when that one finishes!
*A note about jars: I tried a jar that had a rubber seal but did not screw on. This did not work. Even after sealing it with hot glue it continued to leak. I do not recommend using anything except mason jars for this reason. It must be watertight! Learn from my mistake!
I got distilled water and liquid glycerin at a local drug store and I already had a hot glue gun at home. I placed everything in cute orientations on the lids and hot glued them in place, making sure to allow room for the glass to be placed over the miniatures.
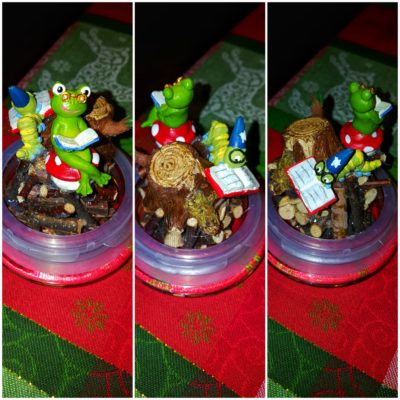
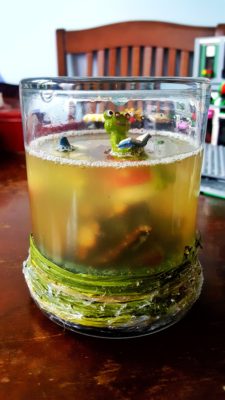
Here I will mention how I do not recommend using anything wooden. The wood “logs” I used to place under my woodland critters only ended up absorbing a lot of water and then turning the water green! Yuk! If you really like the way it looks, make sure to seal the wood in something that will protect both the wood and the water level inside the jar. That is why I am here, so I can try things so you don’t have to!
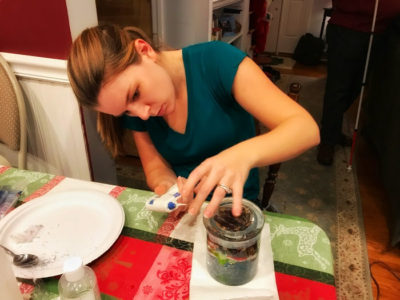
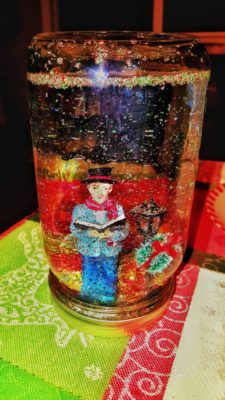
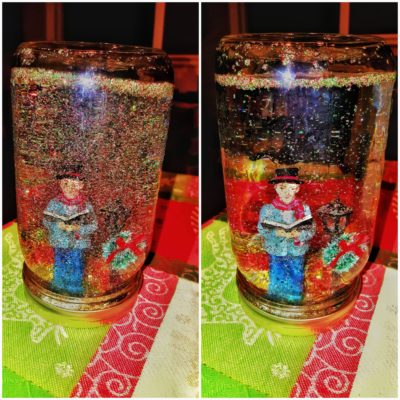
Once the glue dried, I filled the glass portion of the jar to about halfway with distilled water. Next, I added the fine glitter. Red, green, and white in my winter scene and blue and silver in my woodland scene. Then I added 1-2 tsp of glycerin. The more of this you add the slower the glitter will settle. After stirring it all together, I added a couple drop of dish soap to break up any clumps and prevent floating.
When filling the rest of the jar with distilled water, remember to allow enough room for water displacement when you add your miniatures. I turned the lid with miniatures upside down and screwed it onto the jar, submerging the miniatures.
The winter one came out great! The woodland one not so well. That one the jar leaks even though I sealed it as best as I could. And the wood in it wasn’t sealed properly so the water turned bad. That is how you learn. My mistakes mean your success!
Here is a summary of what to do. Happy crafting!
Supplies
- Mason Jar
- Miniatures
- Glycerin
- Dish Soap
- Distilled Water
- Fine Glitter
- Hot Glue Gun
Directions
- Glue miniatures to the lid of the mason jar in orientation desired. Place plastic objects under miniatures if you want to raise them. Do not use wood or metal as they won’t stand up to being submerged.
- Fill glass portion of the mason about halfway with distilled water and 1-2 tsp of glycerin. The glitter will settle slower the more glycerin you put in so if you want it to linger put a little more in.
- Add fine glitter and stir. Put a couple drops of dish soap to help break the water’s surface tension and prevent the glitter from floating at the top.
- Fill the mason jar the rest of the way with distilled water, allowing enough room to account for water displacement.
- Screw top onto mason jar upside down once the glue is dried.
- Turn right-side up and shake to watch the snowstorm of glitter!
I like to put a little hot glue on the lid to seal it to the jar but it’s not necessary.
Create a new one for every season! Get creative! Tell me what scene you’d like to make into a snow globe!

Related Posts

4 Comments
Sarah
This looks like great fun! I have always wanted to make snow globe and now I think I will do them this year. Thanks for sharing!
Kat
It’s a lot of fun! I’m probably going to make more this year.
iva
Hi Califf Creations,
I’ve nominated you for the Sunshine award. Here is a link to my post on your nomination, rules, and questions: https://www.ivasays.com/sunshine-blogger-award-2018/
admin
Thank you so much!!!!